Pages

Tuesday, 2 August 2011

Scenario 4: The Bucklebury Ferry

Having rested with Gildor following their previous encounter with the Ringwraiths, Frodo, Sam and Pippin set off to cross the Bucklebury River. Passing through Farmer Maggot's fields they encounter Merry, and the four companions set off for the ferry crossing, eager to be free from the threat of the Black Riders.

Set Up:


The Hobbits start a way from the crossing, needing to pass through some woods and evade two pursuing Ringwraiths, plus another which is already searching the trees for its prey.

The Nazgul follow the rules for sentries, and are therefore not free to move as they will, represented by a roll on a chart before they move.

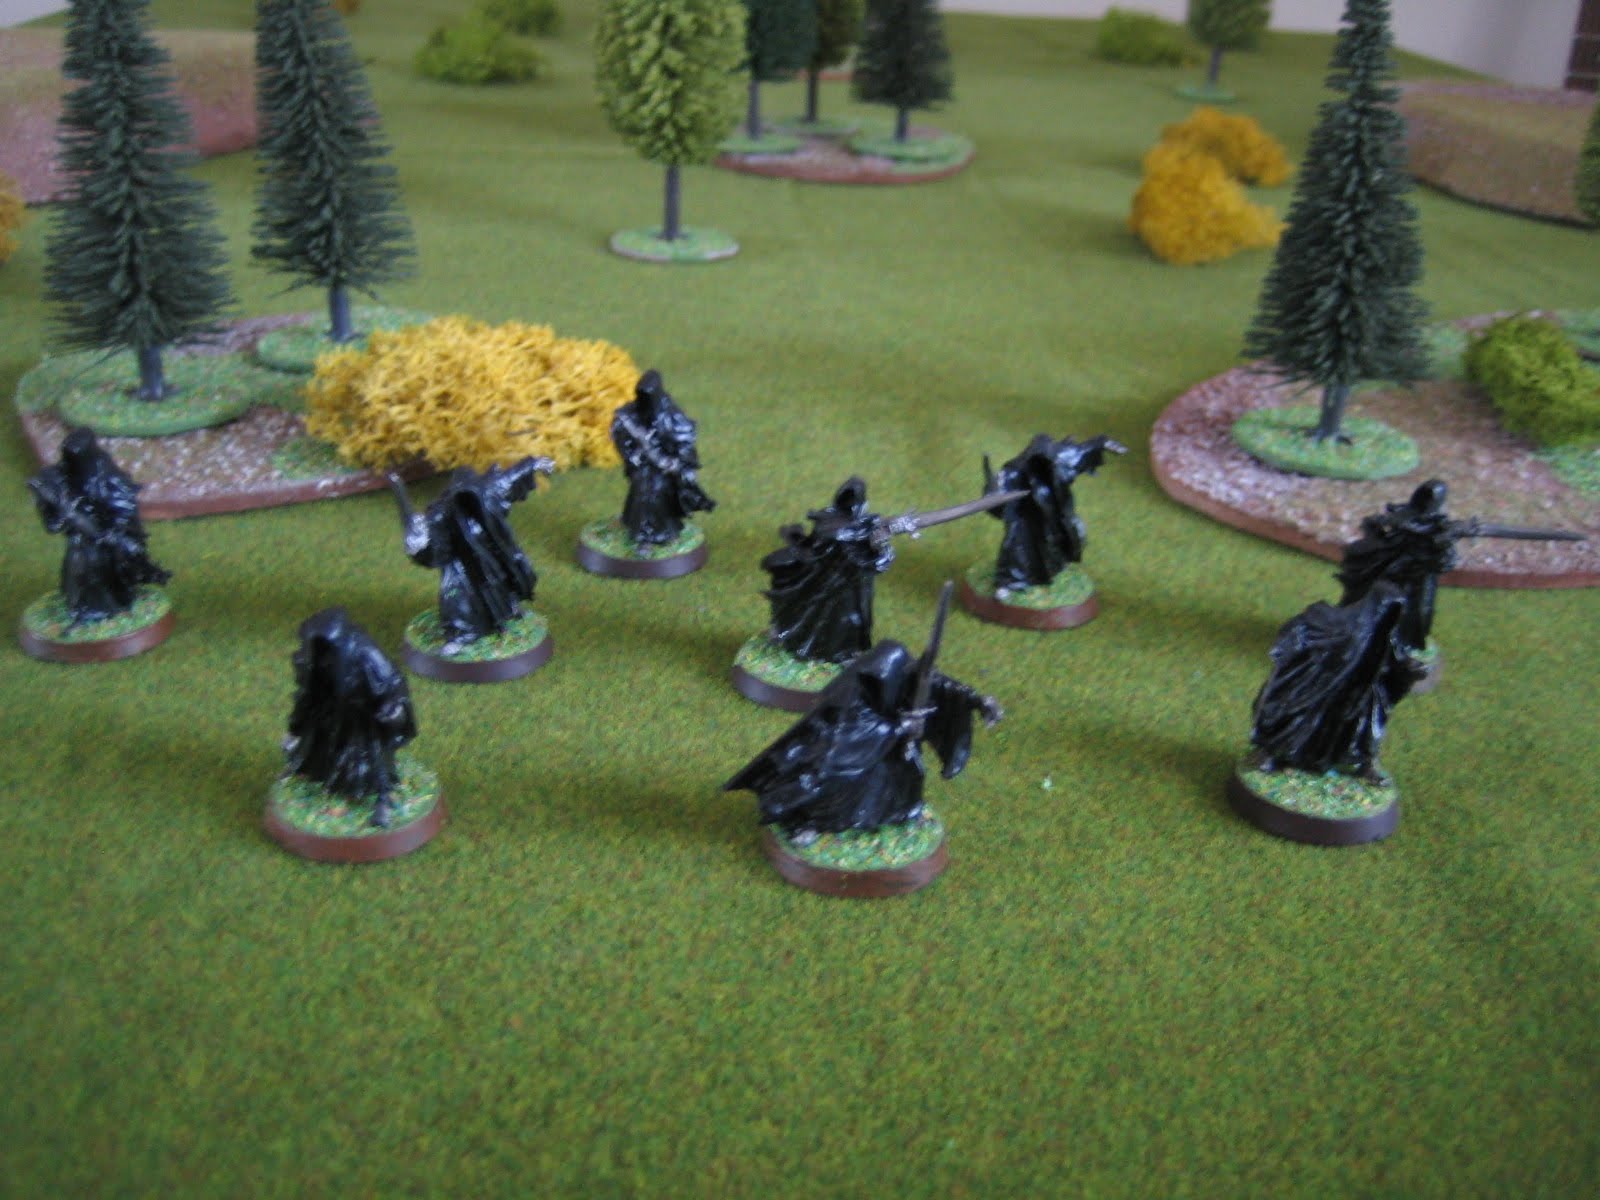
A few lucky rolls meant the Hobbits were able to seize the advantage and pass through relatively freely during the early stages of the game. The pursuing Nazgul hardly made it to the forest and the one already there seemed to have decided that lurking behind a bush was a top way to serve the will of the Dark Lord... :


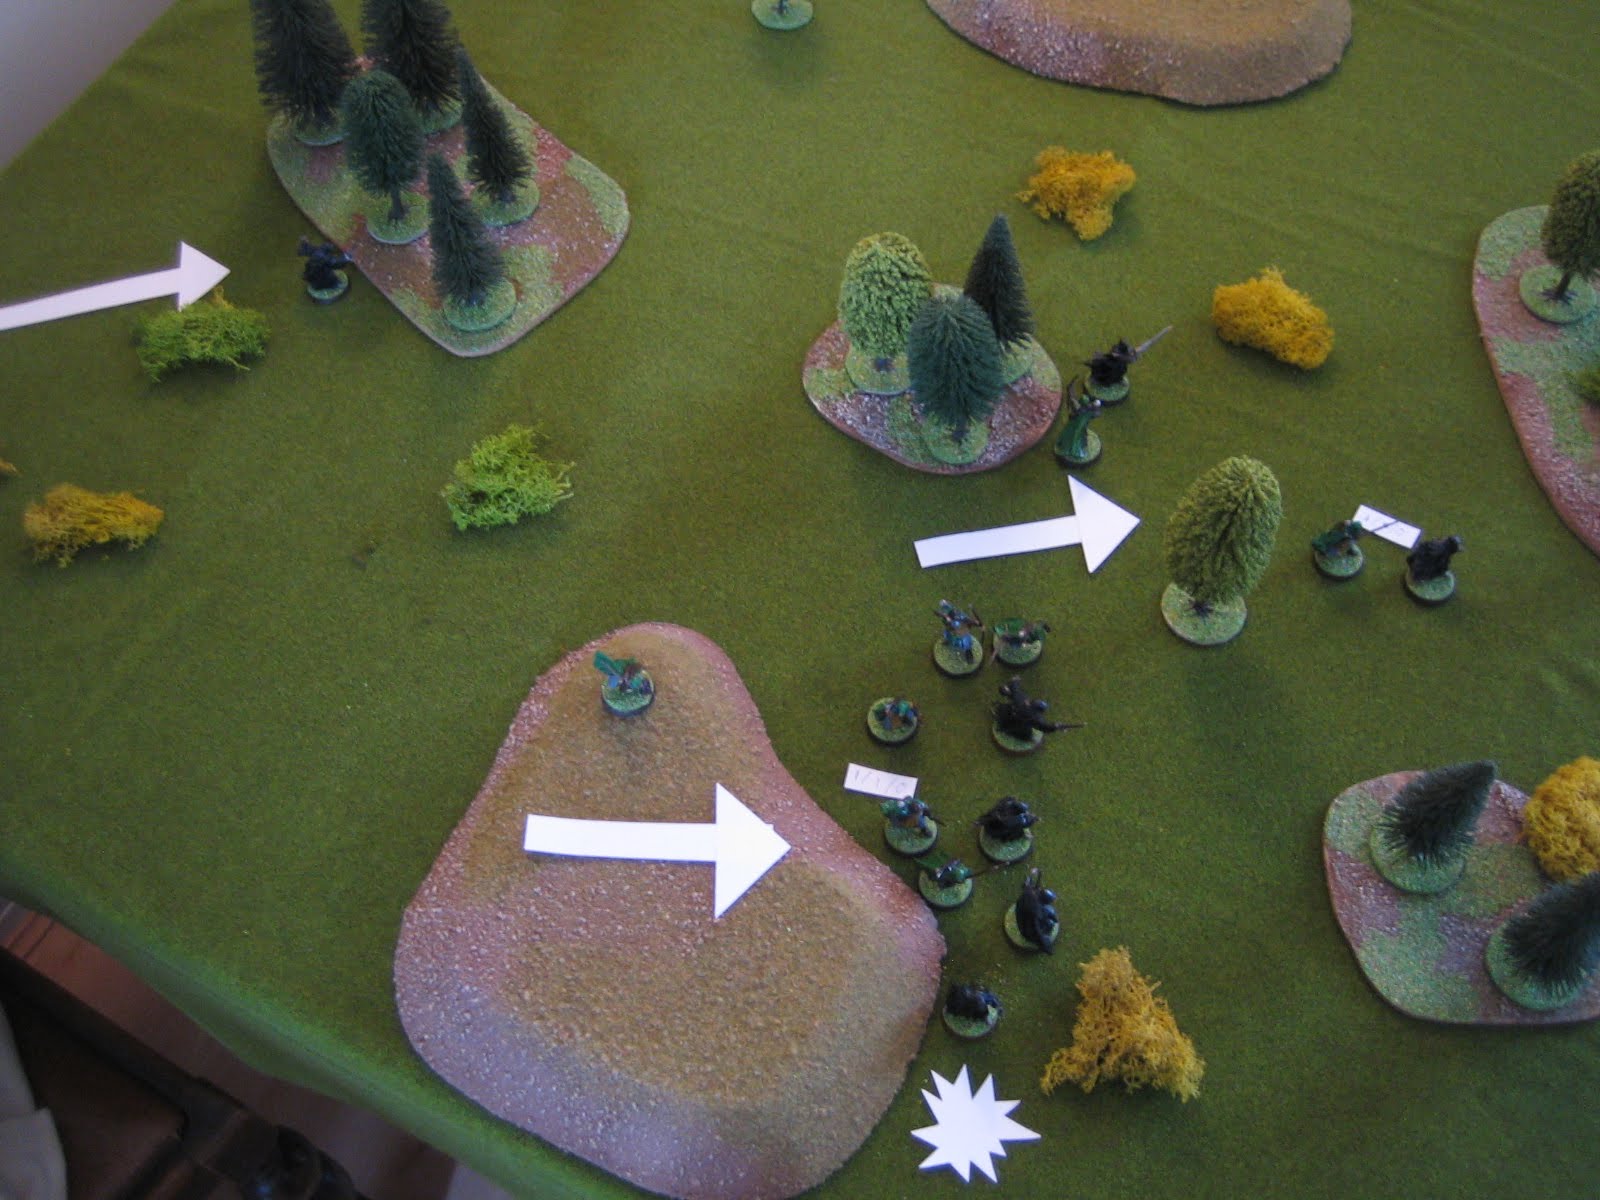
After finishing whatever it was up to in the bushes, the Nazgul resumed its actual task of Hobbit hunting. But the four diminutive chaps were but a stone's throw from the ferry by this point:


Hurrah! The crossing went off without a hitch, leaving the Nazgul feeling pretty ashamed of themselves:


And they are away! Leaving a lone Nazgul screeching in frustration at the end of the jetty and wondering where his mates were in all of this:


Summary:

The Hobbits certainly got off lightly. If they had been spotted early on then things could easily have gone the wrong way for them. All in all the game took longer to set up and put away than to play. It was good to tell the story, but I'm looking forward to the more meaty scenarios later on.

Tuesday, 24 May 2011

Star Wars Star Grunt

I played a game of Star Wars using the StarGrunt 2 rules last weekend. Needless to say, it didn't turn out quite like the films! StarGrunt is a rule set that veers distinctly on the 'realistic' side of wargaming, so putting lightly armoured, pistol armed rebels up against armoured, rifle armed stromtroopers was a recipe for disaster really. This was especially true as the Rebels had to get a droid off the other end of the table.

But the game was great fun and I would definitely use SG2 again for Star Wars, although I might tweak the stats of the models in some cases.

[Urgh. I just uploaded the pictures to blogger and have found they are in reverse order. Can't be bothered to fiddle around with them.]


The point at which the game was effectively over. The Empire had taken almost zero casualties whereas 4 out of 6 squads on the Rebel side were out of the fight. The planetary militia were running away and the elite Rebel commandos had been cut down by the probe droid (more of that later). The R5 unit that had to get off the other end of the board had moved no more than 12 inches the whole game...


An overview of the table. The Rebels started in the shattered remains of a city that had been bombarded from orbit. The Empire troops were advancing through the jungle. You'll note a squad of Battle Droids from the new trilogy. I don't mind too much about that sort of thing and figured the local Imperial force had access to some for some reason.


A shot of the Rebel advance. Sending the locals out first turned out to be a bad idea...


The Imperials advance through the jungle.


This is the first squad of local infantry being blown apart by the probe droid. I had given it weapons that in retrospect were far too strong for a robot that is just supposed to probe stuff! Will be toning it down a bit in future.


The probe droid at the bottom giving the Rebels what for and devastating what were suppose to be elite commandos! Unfortunately, the Rebels were not able to amass enough firepower to make a hole in the imperial lines. The probe droid effectively destroyed the Rebel left flank. As for the rest, they just couldn't seem to make a dent in the Stormtroopers.

Although the battle was rather one sided, it did make for an interesting solo game and I'm looking forward to playing again. I might replay the scenario and change the forces a little to see if it balances things out.

Zombie Fun

A while back I thought I'd have a go at a game of All Things Zombie: Better Dead than Zed, and it didn't disappoint. By and large the rules were okay and it was a fun game, although there were one or two unclear points that I had to make up as I went along. But as it is a solo game, that was not a problem.

The terrain is my regular stuff, although I printed out house plans I had made using Shuffler. As the game allows characters to enter buildings and I didn't have any appropriate ones, I thought it would do the job. To be honest I was happy with how it worked out.

The figures are all from the Last Night on Earth boardgame by Flying Frog.


The game started with the Sheriff and colleague entering the board. Their mission was to search the village for any survivors and lead them to safety. The initial zombie presence was limited, but as the female cop was carrying a shotgun, there were likely to be more attracted by the noise!


Another view of the set up with zombies lurking in the background.


A view of the board with 4 houses (excluding the garage) to explore.


A picture from towards the end of the game. I wasn't originally intending to post this, hence the lack of pictures. Two survivors had been found and joined my group. Unfortunately, someone decided it would be an okay idea to explore the final house alone and they were ambushed by zombies and got chewed up. Another character died shortly later, leaving two to escape off the board.

The game was definitely fun and I'd like to play a campaign at some point. The only downside is that the rules were vague in some places. It does make me wonder about trying "No More Room in Hell" for zombie games instead, but I'm happy to stick with ATZ for a while longer.

Thursday, 14 April 2011

Short Cuts Make Long Delays

Frodo departs the Shire and heads for Bree, where Gandalf says he will meet him. Sam and Pippin decide to acompany their friend, after he tells them he is on a trip to Buckland, although being inquisitive Hobbits, they know the truth of the journey.

While passing through Eastfarthing, they hear hoof beats. Thinking it must be Gandalf, and meaning to surprise their friend, they hide by the side of the road. Only when the Nazgul is almost upon them do they realise the peril they are in. Can they escape?

The first picture shows the board setup. The Hobbits start by the hedge at the end of the road (near the tree). Heading towards them is one of the Black Riders, with two more near each end of the hedges. Between the hills on the right is Gildor, alerted to the danger and rushing to the Hobbit's aid.


Here are the Hobbits by the hedge. Sentry rules are in force for the Nazgul, meaning the side with initiative can move them. This gives the Hobbits a chance to sneak away. In addition, the light of day makes it difficult for the Nazgul to see their prey, so they cannot charge unless within 6 inches.


The hobbits also need to make courage checks each turn, lest they become scared and disorientated. Sam and Frodo passed all of theirs, but Pippin failed at the start and headed towards a Nazgul. Luckily the result of the sentry roll meant the Nazgul went right by him.


The Hobbits managed to pass Gildor before the Nazgul saw them. This allowed the heroic elf to charge the lead Ringwraith and engage him in combat, hopefully buying the Hobbits enough time to escape. He failed to slay the Nazgul, but greatly impeded its progress. Without Gildor's efforts all would have been lost.


The end of the game (below). Ignoring their fellow locked in combat with Gildor, the other two Nazgul charge for the Hobbits. At this stage of the game, Frodo, Sam and Gildor had used all their Might points performing heroic moves, allowing them to move first, even when they lost initiative. But at the end, exhausted, the Hobbits needed good initiative rolls to move off the edge of the board, which they managed.


This was a very simple scenario, but managed to capture the tension of the Hobbits' escape. The presence of Gildor also helped to show that there were good forces aiding them at every step, without whom all would be lost.

At the end of the game, Sam recovered his point of Might, and Frodo recovered one point (out of two). The next scenario is the flight to Bucklebury Ferry. Time to get building a river...

Tuesday, 29 March 2011

The Trust of Arnor

Following on from the small skirmish near Sarn Ford, the Ringwraiths have succeeded in entering the Shire. The battle has divided the Nazgul, but also the Dunedain, and the survivors from before are rushing to the aid of their brethren, who are hoping to stall the further advance of the Ringwraiths.

Participants: 9 Dunedain and 8 Ringwraiths plus the Witch-king.


Turn 1

6 Dunedain start the game on the board, although they will receive reinforcements during the game. All the Nazgul start off the board, with 1D3 arriving each turn. On the first turn the Dunedain advance towards the centre of the board. 2 Nazgul arrive.


Turns 2 - 3

More Nazgul enter the board and make their way forward, keeping the forest between themselves and the arriving Dunedain. A lucky shot banishes one of the Nazgul, but the other continues unharmed. Meanwhile the two groups of Dunedain that started the game on the board continue to move to intercept their foes.


Turns 4-5

The Nazgul focus their efforts in an attempt to break through the Dunedain defence. In the centre of the board fighting breaks out in earnest, but the Dunedain hold. The new arrivals pursue the Nazgul round the forest, while the second group of three move across to form a second line of defence, should their brethren fall. (The little white rectangle is to remind me that that particular Dunedain has expended a point of might, avoiding a wound.)


Turns 6-7

It was at this point that I counted the Nazgul on the board and noticed I had forgotten to bring one on, clearly it had got lost... You can see it at the top left of the board. Meanwhile, two Nazgul by the smaller forest are making progress in their goal. The battle on the hill rages, with another Ringwraith falling.


Turns 8-9

The battle takes a turn in the Witch-king's favour during turn 8, as he and some Nazgul fight their way off the hill. In part this is due to Dunedain failing their courage checks to charge their fearsome foes. This leaves our heroes in a precarious position, but luck is with them and they move first in Turn 9, charging into combat and preventing the Wraiths from moving away that turn. However, this is not without cost and one Dunedain gives his life for the Shire.


Turns 10-11

Turn 10 sees one Nazgul and one Dunedain fall and the Wraiths have truly breached the Dunedain defence. Seeing that pursuit is likely to be futile, the Dunedain (bottom of pic) opt to shoot at their foes from a distance. Their shots hit, but fail to wound the foul creatures of Sauron. In the middle of the table hand to hand combat continues with more success as another Nazgul is banished.


Turns 12-13

In these turns, 4 Nazgul manage to escape off the board despite brave attempt to bring them down with archery. The remaining one moves around the small forest in the middle of the table and the Dunedain turn their attention to it.


Turns 14-15

The lone Nazgul falls to the combined efforts of the Dunedain. This gives the Good side a victory, but will it be enough to prevent the capture of the ring and the Hobbit who bears it?


Thoughts on the Scenario

This second scenario was more fun to play than the first, but I am still looking forward to getting stuck in to the 'proper' story, which starts from the next scenario. I know the Nazgul are at their weakest at this point, but they do seem to fall in combat a lot more easilly than you would expect, and they don't seem quite as terrifying as they should be. Still, the Dunedain in this scenario are all heroes in their own right, which helps. I hope the Hobbits are going to be okay!

After recovery rolls, the Ringwraiths were on the following levels of Will (out of 7, or 10 for the Witch-king): 10 (WK), 6, 6, 6, 5, 5, 5, 5, 4. The rather brief rules for linking scenarios do not give guidance for which three to select for the next scenario. I'm tempted to take one of each (i.e. 4, 5, 6), but might take the 3 with 6 Will depending on how I am feeling. It might make for a more interesting game overall.

Next project: Put some final touches to hedges for the next scenario; finish painting Frodo, Sam and Peregrin; paint Gildor.

Saturday, 19 March 2011

DBA Wallachians

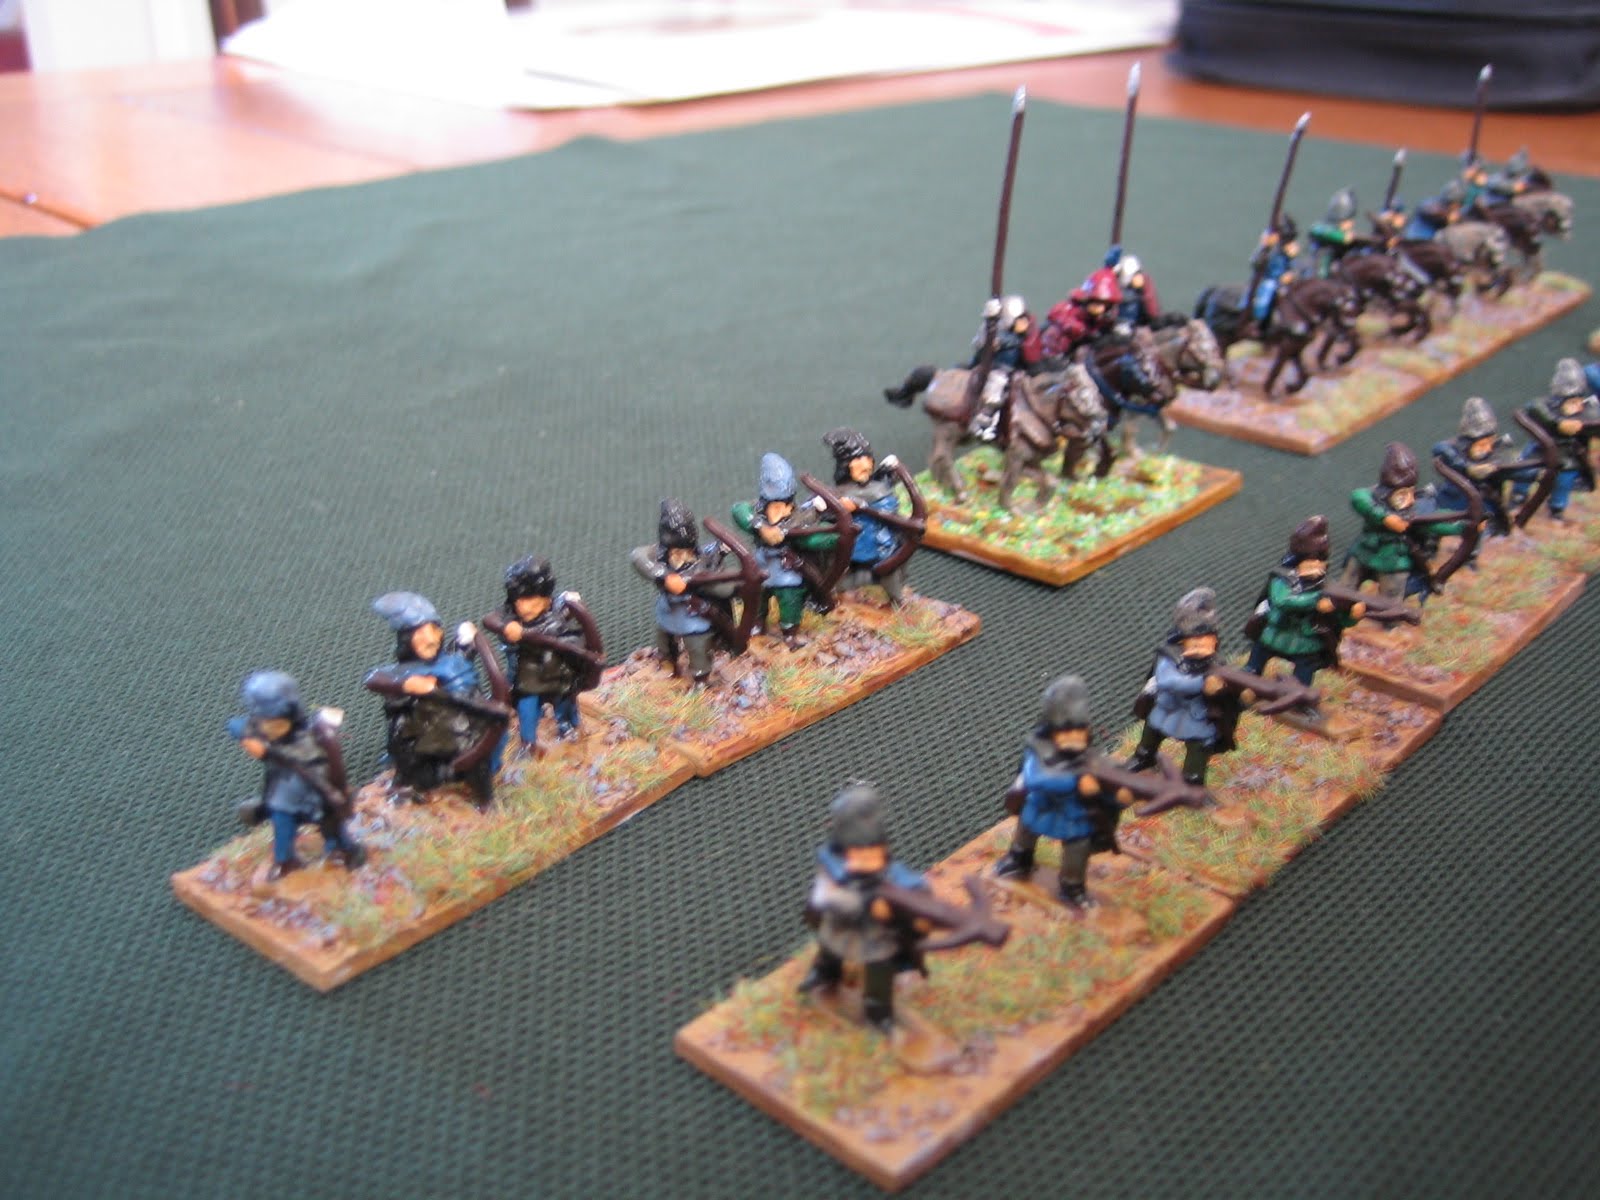
I have finally finished my Wallachians for DBA, thanks in no small part to encouragement from the Fanaticus forum!

Just two points:

1) I know my general is wearing red armour. Just a little Dracula related film reference I could not resist
2) I based the general element this morning without checking how I had done the rest of the army. Argh! At least he stands out, I guess...

One done. Now time to start on my Ottoman army. And do further work on the Vikings and Saxons.


Tuesday, 15 March 2011

DBA Diversion

Had a bit of spare time so I became motiovated to finish my paper DBA armies. The first pictured is II/47a Early German (Cimbri & Teutones). The second is II/49 Marian Roman, with elements for all options pictured. The third picture is a test game.

All in all I am quite please how these turned out. Better looking than 'top downs' and a feasible way to 'try before you buy'.